Wednesday, November 09, 2011

More Fall Fun!

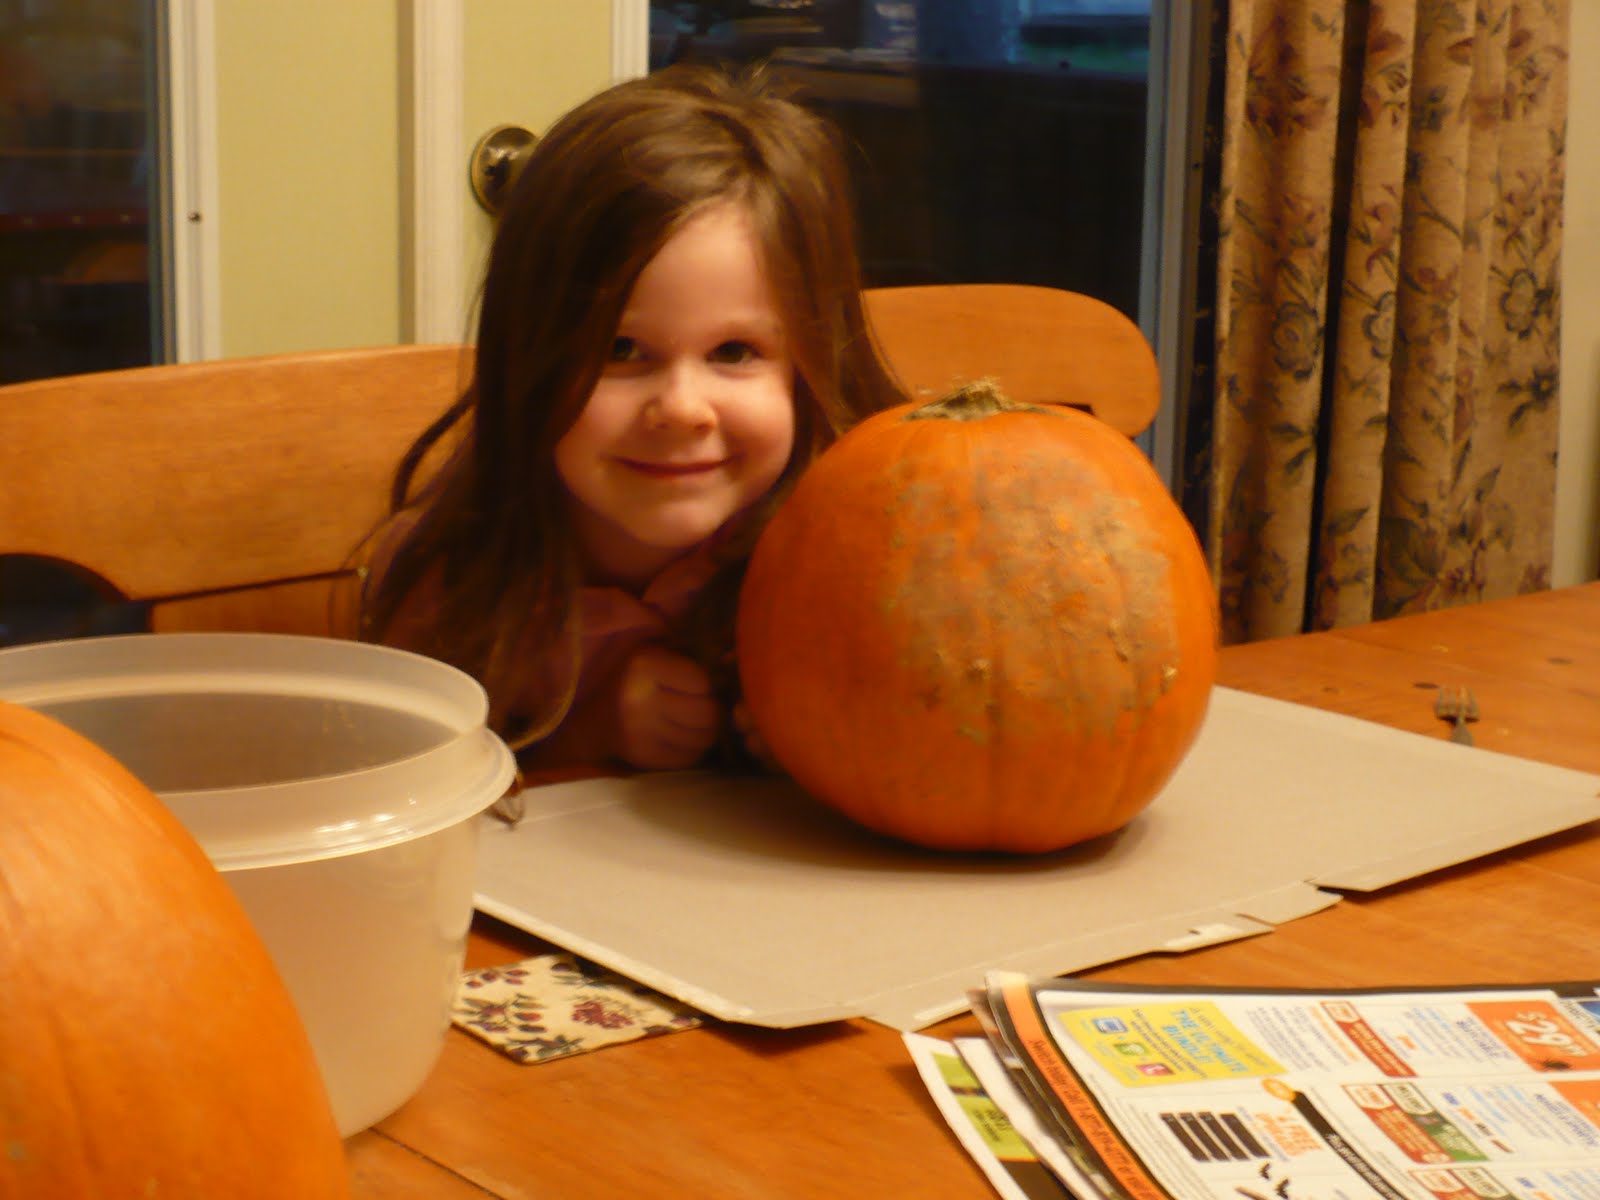
Still enjoying a lot of Fall fun and beauty around here! For Family Night before Halloween, we carved our pumpkins from the pumpkin farm. We usually read the Pumpkin Patch Parable, but I could not find our copy so I just talked it out with our kids. We had a great time!

Tuesday, November 08, 2011

Kitty Party!

As I mentioned - Emily's birthday was last week. She had requested a kitten party and I began an all-out search for kitten ideas. Boy, was I disappointed! But, then I came across Hello Kitty and decided to mix some of that in for a definite lift in cuteness factor.

We planned her party for Saturday after her birthday over lunch time. But, woke up to a sick Rachel - so we knew we couldn't have it at our house. A last minute switch and calling everyone - and we moved it to a local park.

First, the invitations. I found a Hello Kitty coloring page and used that as a template for her face and hair bow. Simply using construction paper and crayons. Then, I found these cute waxed paper bags in my stash (from Garnish) and packaged them in these:


For the food - we were serving lunch, and there were some special dietary needs - so here is what we served:

Cheese (cut out with Hello Kitty cookie cutters)
Goldfish in a fish bowl
Peanut Butter & Jelly sandwiches
Turkey sandwiches
Watermelon (cut out with Hello Kitty cookie cutters)
Carrots & Ranch
Pink Lemonade

I'd been planning to make shaped sandwiches - but when we had to move locations at the last minute, this got ditched. I also had bought little stick pretzels which I thought looked like whiskers but forgot them at home. And, I'd planned to serve milk (kittens love it!) but again changed when we went to the park. And, I somehow managed not to get any pix of the food - ack!

I found really cute Hello Kitty napkins and plates at Target. They looked like these.

For cake, we decided to make these cute cake pops. I'm pretty sure I'll never try cake pops again (I confess there were a few tears) and our food color markers were not working on the candy coating - but here was my best attempt. Emily loved them, by the way! I also made cupcakes with soy milk frosting for our dairy-free friends!


Decorating Ideas:
I worked so hard at thinking of cute kitten themed decor and I had fun pulling out a lot of things I already had on hand.

My vision was to have a big jar or basket of yarn balls in the middle of the table with canning jars along either side that each had a goldfish swimming in it. I had a feather boa looped around our chandelier and some paper lanterns to hang.

When moving the party quickly to the park - I grabbed the basket of yarn balls and we did do the goldfish idea which was to be part of their party favor. Sad news - it was cold outside and they all died at the end of the party. We ended up conducting about 10 goldfish funerals and burying them at the park. Not one of my brighter ideas.


Craft Ideas:

I made cute little headbands with felt ears hot glued on and found a black lipstick on the Halloween clearance to draw whiskers and noses on the girls! This was a hit and turned out really cute and fun!

I had also contemplated making Hello Kitty barrettes using something like this. And, had thought of getting white helium balloons and letting the girls draw on the face and hair bow. It was too windy outside to do this and I just decided not to spend the extra money.

We did have a stack of coloring pages for them to color which was fun!


Game Ideas:

My game ideas got totally thrown out because we were at a park instead of our home, but I'll share a few ideas anyway.

I had thought it would be fun to have some sort of yarn chase - I was going to cut one length of yarn for each girl and have them follow it to some kind of prize at the end.

Pin the bow on Hello Kitty: I had made a poster with a Hello Kitty face on it and had little hair bows from a HK coloring page that they were going to color and cut out. Because it was windy - we did not do this at the park.

Mouse game: I had gotten three of those little catnip mice and was going to have a relay for them to get down on all fours and move it with their "paws" - but since we were outside we didn't do this.

I had also thought of doing something with those jingly balls that cats love - but they were kind of pricey, so I skipped that.

Favors:
Goldfish as mentioned above
I also had a bin with some little Hello Kitty items in it and they each got to pick one thing out of there. Plus, they got the headbands to keep.

Here are a few other pictures from her party:

Cookie Cutters: $9 including shipping
Kitten Ears (felt and headbands): $6/12
Goldfish/Food: less than $6
Mice: $3
Yarn: from my stash
Decorations: from my stash/previous parties
Coloring pages: printed off the web
Plates/Napkins: less than $6
Food: about $20
Total: $56

So, I did not make it to include the gifts in my $50 this year, but I don't always serve a meal and we had more food than usual to purchase for this one.

I have to confess that I was stressed about this party - it was hard to come up with kitten ideas and I did not work ahead as well as I usually do. Then, with the location change and difficulties with cake pops - it was rough. Bless Emily though, she handled everything well and all of her friends were able to come. The bottom line is she had fun and felt celebrated and loved!

Friday, November 04, 2011

A Garland of Thanks

Well, you knew it was inevitable - here come the Thanksgiving ideas! This first one is something you can enjoy working on from now until Thanksgiving!

My friend Melissa gave me this pumpkin jar a few years ago and I love this idea for enjoying it this year! Give Thanks printables here via Pinterest.

This jar is equipped with strips for us to write things we are thankful for on them and pens to do the writing. Each morning at breakfast we will each share one thing we are thankful for and then I'll bend them into circles and make a garland for adorning our Thanksgiving celebration. Cute printable strips here via Pinterest.

See the color of that paper? It's kind of become my Thanksgiving theme for this year - you'll be seeing plenty more of that color here! I'm also thinking of using a few of these strips for napkin rings at our dinner table!


We've also started our ABC's of Thanks list again! Do you have any plans for making Thanksgiving meaningful or beautiful?

Thursday, November 03, 2011

Couch Details

Thank you so much for your encouraging and sweet words on my couch reveal a few days ago. I'm guessing there were a few details some of you may have wondered about or if not, I'll just share anyway!

Let's see - how did this crazy project get started? Oh yes, there was this crazy piping poking out of the cushions in a few places - everytime it poked out, I just cut it off! But, then there was a hole where it had poked through. I bought these couches over ten years ago. Before moves and marriage and littles.


And, these couches have been just right for me/us for many years. But, when I was thinking about this change - I told my mom it felt like it was time for my living room to "grow up" a little bit. I mean, these couches were my first big furniture purchase. Yes, I'd bought one couch before. For $5 from a yard sale, but it had outlived its life long ago.

Even when I hadn't had these couches very long, I remember first reading of slip covers in an article about Rachel Ashwell founder of Shabby Chic. I tried to inquire about ordering some for my couches - but they were sold only to professional designers at the time.

So, I just set that idea aside for a while - years. And, then this. Yes, this started everything. The bug bit me and I thought all summer about what it would be like to slip my couches. Did I have the nerve? Would I finish? Were light couches really wise with my young crowd around here?

David was supportive and on a Sunday afternoon when my sweet friend, Grace, was on her way to our house - I ripped off the skirt to the big couch. Suddenly, I was committed. And, it felt ok!

I worked before Grace got here and then we finished the main slip for the big couch and I worked on a couple of pillows. This couch was half finished for weeks - but I finally got it done. Then, I struggled to finish the smaller one - but fortunately I'd had the wisdom to start on the biggest part. I do know myself well enough to know I have to do the hardest and biggest part of the project first.

Nitty gritty: I started this early August and finished about a week ago. I didn't keep exact track of how much this project cost - but I'm guessing it was in the ball park of $250 on all the canvas drop cloths (five - and it is VERY important to get them all at once!!! It seems there are tons of variations in drop cloths!), zippers, stuffing, ticking and new cording, etc...

This brings me to what I did exactly. I ripped off the old skirts, ripped out all of the old piping (didn't want it poking through my new covers!), ripped out zippers and reused the ones from the cushions, added zippers to the back pillows, added stuffing to mashed down pillows, etc... Everything is now removable except for the covers on the throw pillows.

As for the rest of the living room, I really just moved things around, spray painted my floor lamp ($1) and didn't buy anything for shelf. Oh, yes - and the $3 curtains! I still want to add more throw pillows - but haven't been inspired or found what I want yet - not sure what I want yet either!

Bless David, he has told me so many times how much he loves the new look, how it feels more comfortable, what a good job I've done. Such a sweet encouragement in the midst of a huge project!

Wednesday, November 02, 2011

Happy Birthday, Emily!

Seven years ago today, I woke up in the middle of the night with a lot of back pain and contractions. Since it was my first baby (and, I wasn't due until later in November), I wasn't really sure when it was time to go to the hospital and it was a Presidential Election day so we were hoping to vote. I waited until about 6 to wake David up and by this point, nothing had changed - more contractions, and I was just getting more uncomfortable.

I didn't want to be one of those girls who got sent home from the hospital being told it just wasn't time yet. And, I'd already been to the hospital once and maybe twice to slow down my pre-term labor.

We agreed that the polls opened at 7, so we would each get a shower and get our things together and go vote on the way to the hospital. And, we pulled in promptly to the local elementary school to vote.

By the time we got to the school, I wasn't interested in voting any more :) and we agreed that David should go in and vote while I waited in the car. You know, it usually only takes a few minutes to vote, right? I was supposed to honk the horn until he came if I needed David - we had our little plan in place.

I don't really remember how I passed the time - but I do remember that I kept moving my foot forward and back - just some movement to help me feel a little more comfortable. I was getting more and more antsy and ready to go and eventually found out there was some problem with the voting machines.

An hour later, David was back explaining all the hang ups and I was ready to go. Turns out, I was 8cm dilated when we got to the hospital and needless to say - it was only a few hours later that our Emily made her appearance.

I had wanted to have a little girl and name her Emily for years! My great-grandma's name was Emily and I was hoping no one else in the family would beat me to it. I was hoping that Memee could meet her new Emily (she did when she was almost three months old). And, I was so excited that God was allowing these dreams to come true for me.

Today, she celebrates her 7th birthday and I can hardly believe how the years have flown by. Emily is my child who wants to try everything, who seems mature beyond her years, who challenges me in ways I hadn't imagined one at this age would.

She is incredibly smart, picks things up very fast, is a great reader, loves babies and kittens and horses. I love the freckles sprinkled all over her face and often see a beauty that will develop as she grows.

I am so thankful that she has Jesus in her heart! I am thankful she is part of our family! And, I am trusting God to lead her in His ways - oh, how I pray for this!

We're having her party on Saturday - but for today, she has requested Lucky Charms for breakfast, hot dogs for lunch and pizza for dinner.

Happy Birthday, Emily!
I love you so much!
Love, Mama

Tuesday, November 01, 2011

God's Word in my home.

This was originally posted May 17, 2007 - but I'm bumping it up now to enter it into the Doorposts contest focused on how we bring Scripture into our homes.

As I mentioned in a post earlier this week, I've had this passage on my mind a lot lately:

"Love the Lord your God with all your heart and with all your soul and with all your strength. These commandments that I give you today are to be upon your hearts. Impress them on your children. Talk about them when you sit at home and when you walk along the road, when you lie down and when you get up. Tie them as symbols on your hands and bind them on your foreheads. Write them on the doorframes of your houses and on your gates." Deuteronomy 6:5-9

An idea began in my heart - to actually put God's word on our doorframe. So, here is what I came up with...

I first had to decide what verse or verses to use, I chose:

"The Lord bless you and keep you; the Lord make his face shine upon you and be gracious to you; the Lord turn his face toward you and give you peace." Numbers 6:24-26

I typed up the verse using a large font size and printed it out. Then, I cut out the letters with an x-acto knife to make a stencil.

Next, I cut apart the phrases and taped them up on the wall with double-stick tape.

Then, I traced the letters onto the wall with a pencil. I added in the bits that were cut out such as the inside of an 'e' or 'd' - this was considerably easier than trying to save those little pieces to trace around.

The next step was to remove the paper and start painting! I used black craft paint - the kind you can get for 50 cents or so at a craft store on sale. After the paint was all the way dry - touched up by erasing any remaining pencil marks. All done!

Merry!


It's time for another Christmas swap! We are pleased to announce that our next Sister's Shoebox Swap has a theme of Merry!

For those are who are unfamiliar with our swaps, my sister and I started these several years ago as a unique way to make a new friend and encourage them. Based on the information you send us, we match you with someone we think you will pair well with, and then we ask each of you to fill a shoebox with goodies tailored to the theme and your swap partner. It's a lot of fun!

Please read the following details carefully if you are interested in swapping:

1. In order to participate, you must either have swapped successfully with us before, or you must be a regular commenter on one of our blogs (The Homespun Heart/with all that I’ve been given). You don't need to comment daily, or even weekly, but we need to recognize your name when you sign up.

Before you send us an e-mail, please consider if you have the time and resources to fulfill your swap. We don't want anyone to be disappointed!

2. You need to fill out your questionnaire as part of the sign-up. In order to sign up for this swap, please e-mail sisterswaps@hotmail.com with the following info:

name
complete mailing address
e-mail address
blog site, if you have one

If you would be willing to ship internationally, please indicate that specifically. If you don't mention it, we'll assume it's your preference to ship within the U.S.

Also, please answer the following questions in your sign-up e-mail. The more thorough your answers, the better we can match you with someone complementary.

* How do you define a Merry Christmas?
*When you think of Christmas, what colors or images come to mind?
* What are your do's and don'ts of holiday decorating? (for example: Do you collect snowmen? How do you feel about Santa or religious decorations in your home?)
*When it comes to gifts, are you more likely to buy them or make them?
*Do you have a favorite Christmas book or movie?

Sign-up entries must be complete to be included. Even if you’ve swapped with us before, please send all of the information requested above. Please keep the theme in mind when selecting items for your partner, and as usual, please limit your gifts to what can fit in a shoebox.

Important dates to consider:
Sign-ups due by 8 a.m. (CST) Thursday, November 3, or when 40 people have signed up.
Partner info will be e-mailed to you by Monday, November 7.
Please send your shoebox by Friday, December 2.

If you have not received an e-mail with partner info from us by November 10, please check your “junk” folder first, and then contact us if needed.

Thanks, and happy swapping!