As promised, here is a fun Fall craft to inspire you! This originally was a kit that I got at Target on clearance last Fall. Do you know about these great craft kits they carry? They are in the stationery near the scrapbooking items. It seems I usually find them on a low shelf that is kind of hard to see - but since I know they are there, I hunt!
When seasonal clearances come around, these do not make it to the seasonal clearance area but are clearanced right in the same spot they are usually displayed. For the past couple of years I've bought several of these and they are super fun to make and also make a fun gift.
This one said Happy Halloween and had a spidery looking paper for one of the pre-cut papers - we don't really celebrate Halloween, so I just doctored it up a bit. I've looked and looked for a link to this project and can't find one - so I'm going to show you how you could make one!
First of all, you will need thirteen pieces of scrapbook paper cut into 8x8 inch squares. After they are cut, choose one corner and put your ruler in the point - measure two inches and cut that triangle off. You might notice that it looks like there is double stick adhesive already on these pieces, but it was all dried out and not sticky - so just disregard and we'll tape it as we go!
Turn the paper over with the cut off corner towards you and roll into a cone using two pieces of tape to hold in place.
Repeat for all paper - turning them into cones. Clip the top edges together on the sides with paper clips:
Next, you need a round piece of cardboard that is 6-8 inches across. Since mine was from a kit it had the holes already in it but you could punch holes or just poke them with a pair of scissors and achieve the same end result.
Lay this underneath {on the back side} of your wreath and hot glue it all together - this step was not part of the kit but otherwise it completely fell apart! Next, you will set a round firm circle of cardboard in the open circle of your wreath. An empty masking or painters tape roll would work great!
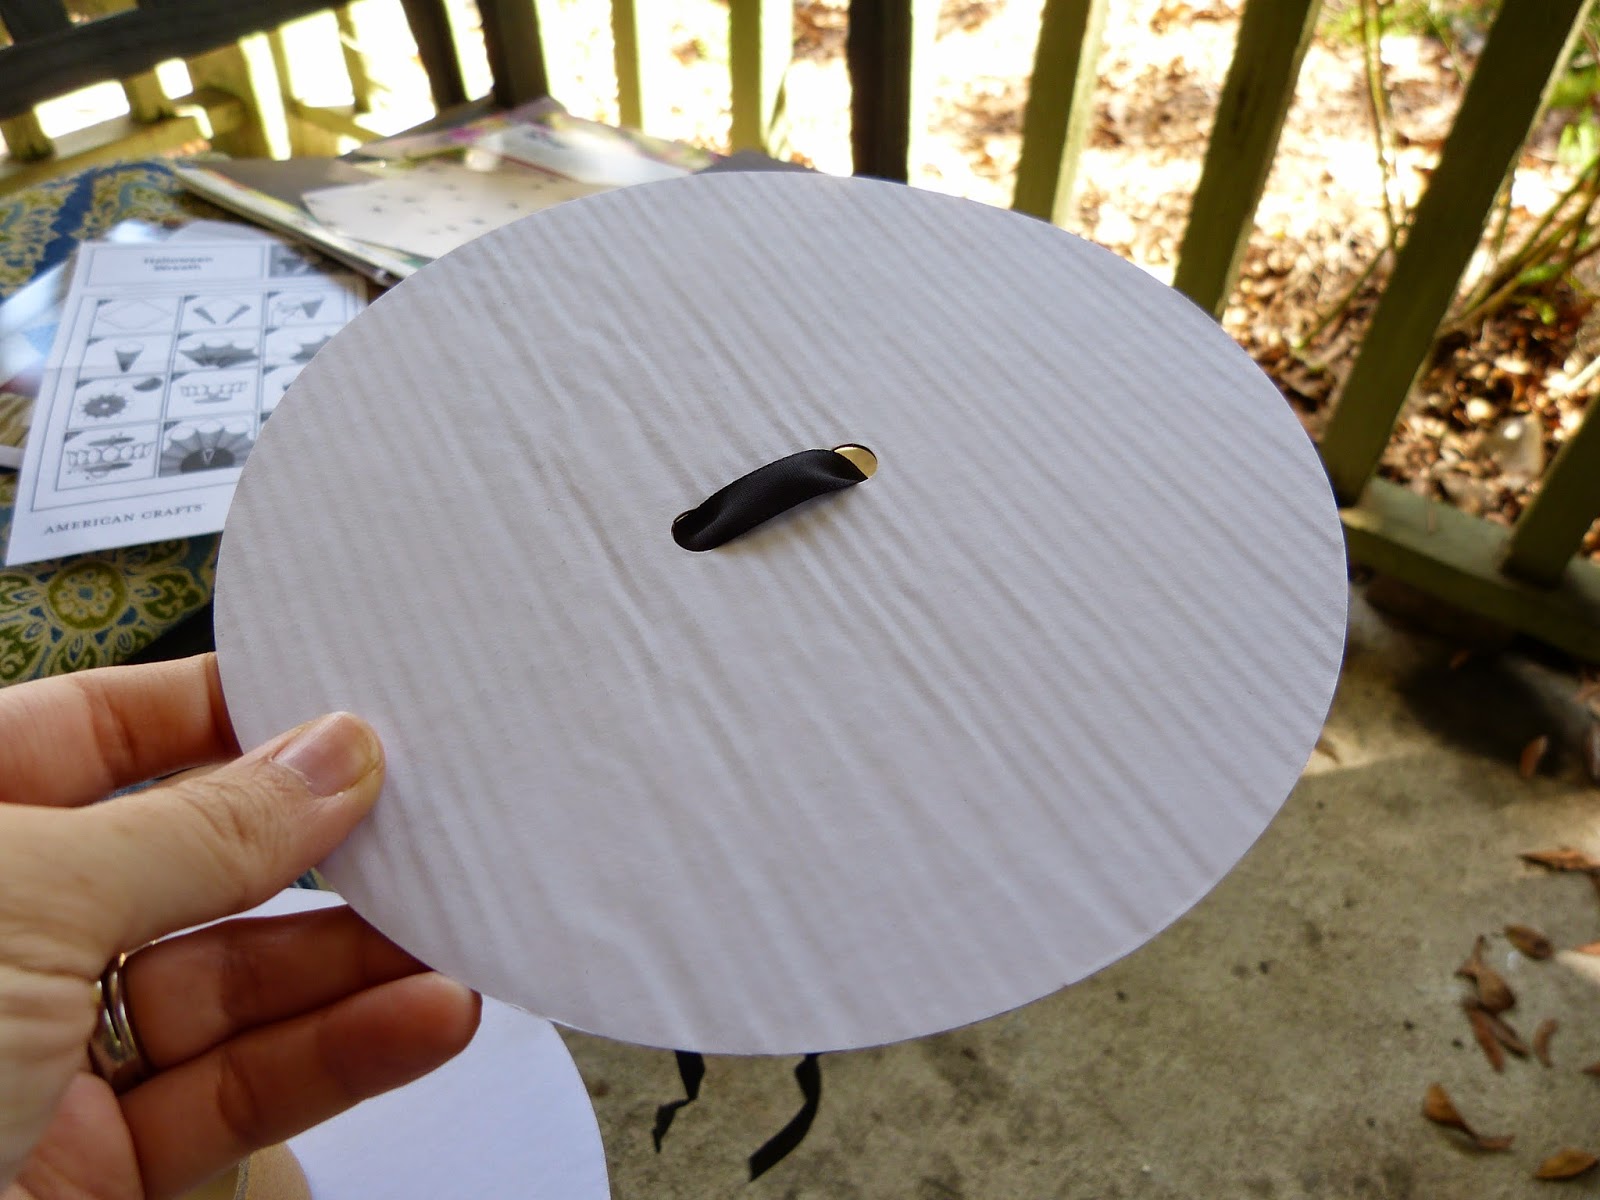
A second flat round piece of cardboard with two holes in the middle will go on top of all of this like a sandwich. Before you glue it on, put the ends of a piece of ribbon through each of the holes and run through the center hole in the back. Hot glue all together.
Pull the ends of the ribbons through the two holes on the back and tie in place - this forms the hanger also for the wreath.
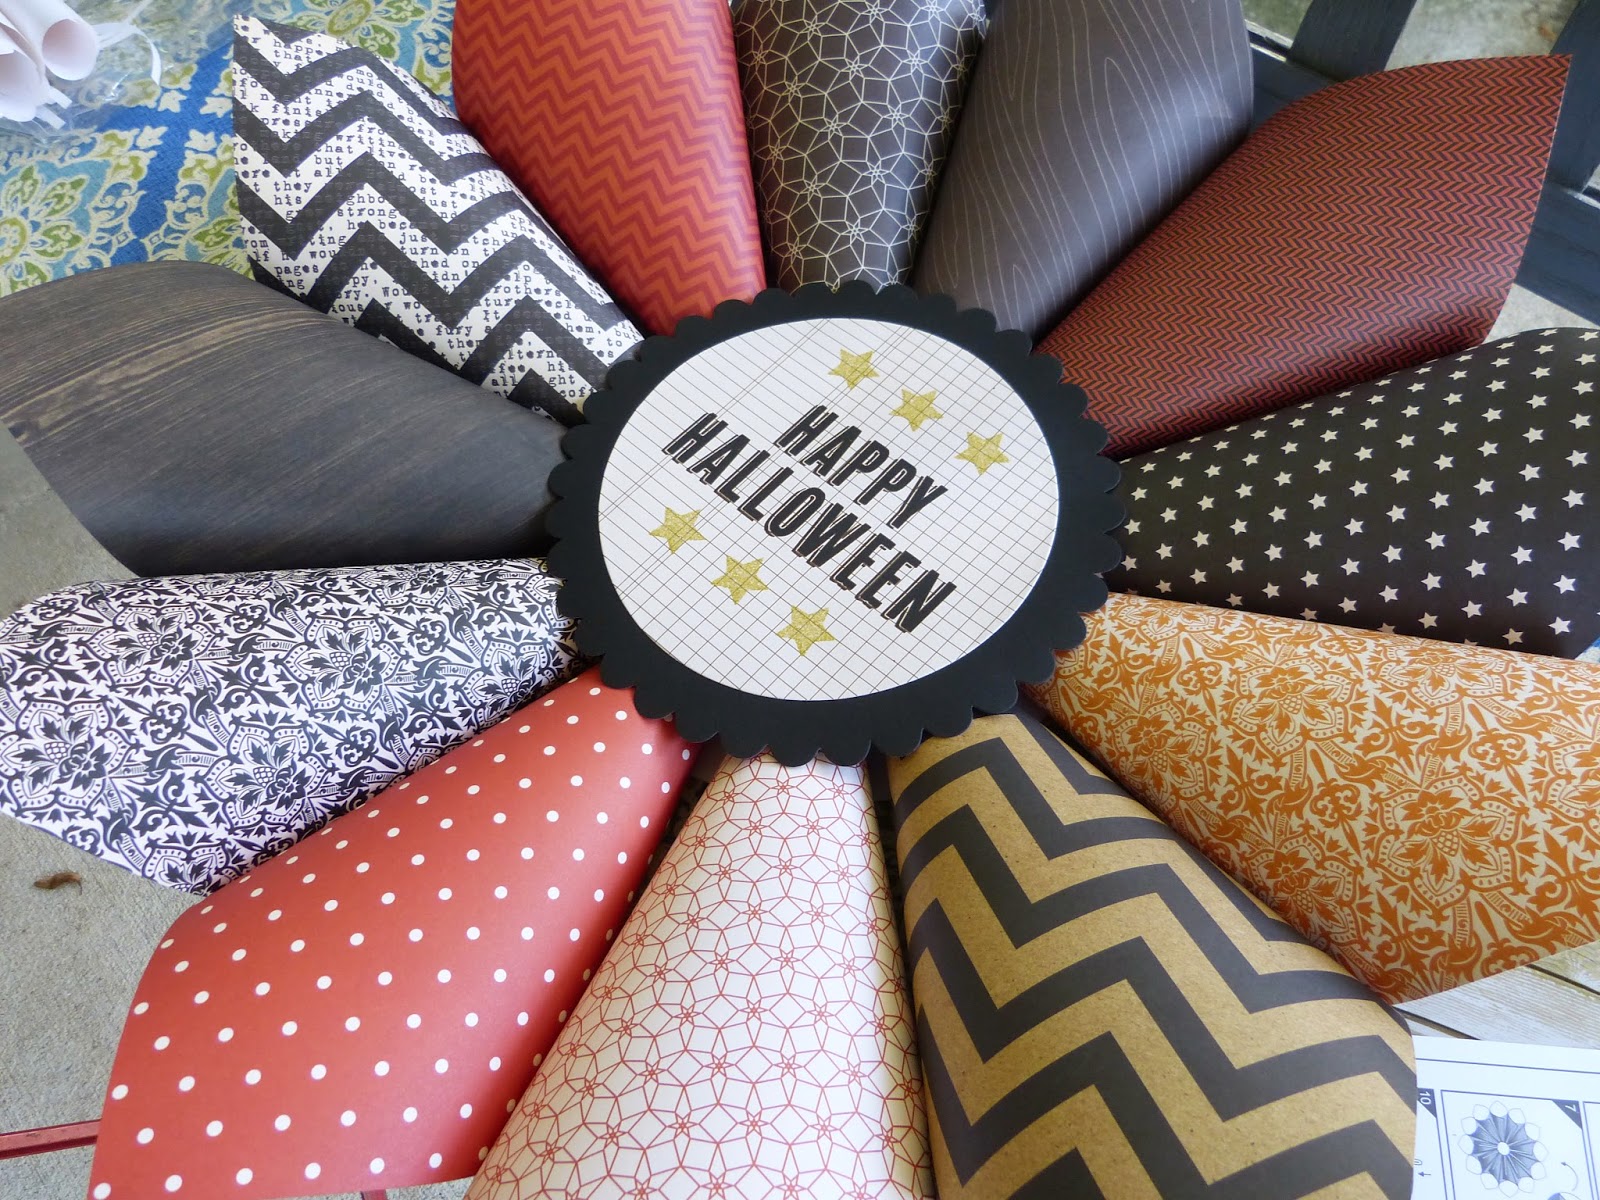
It should now look like this:
Decorate over this top piece as desired - I used the enclosed pieces and then put a hoop art I made last Fall over the top. You can find out how to print on fabric here. Please note - I'm not trying to present this as my own idea! I bought a kit that showed how to make this but since I cannot find a link - I'm just showing how you can make one too!
Hang and enjoy, friends!


